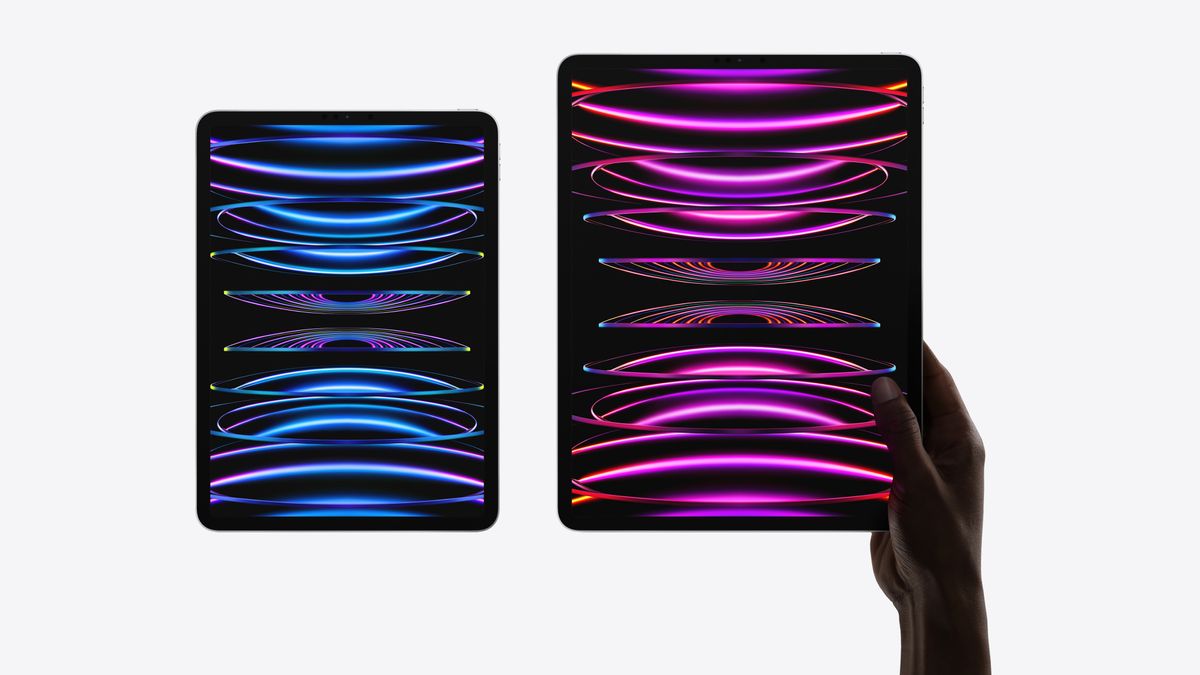
iPad screenshots are great for capturing and sharing epic victories from your games, great moments from your videos, feedback on your projects, bugs you want to report, or almost anything and everything you see on your screen.
Most of us know how to take a screenshot on iPhone. But what about on an iPad?The process for taking an iPad screenshot differs slightly between models, whether you have an older iPad or the newer iPad Pro with M2 (2022), but it’s as simple as clicking a couple of buttons at once regardless of which of the best iPads you’re rocking.
In this guide we’ll walk you through the different methods for the different kinds of iPad.
How to take a screenshot on an iPad without a Home button
If you’re using one of Apple’s modern iPad Air, iPad Pro, or iPad mini models, you may be wondering how to take a screenshot without a Home button. Don’t worry, Apple has thought of this and moved the functionality to the volume buttons. Here’s how to take a screenshot on iPad models without a Home button.
- On the screen you want to capture, click the top button and either volume button at the same time.
- Quickly release both buttons.
The screen will flash white and you will hear the sound of the camera shutter clicking (if your sound is enabled). You’ll see a thumbnail temporarily appear in the lower-left corner of your screen if you’ve done this correctly. You can tap this thumbnail to view your screenshot, edit it, share it, or apply Instant Markup annotations.
How to take a screenshot on an iPad with a Home button
If you are running an older iPad model or Apple’s latest entry-level iPad and still have a Home button at your disposal, this is used instead of a volume button for screenshotting purposes.
- On the screen you want to capture, click the top button and Home button at the same time.
- Quickly release both buttons.
As with the Home button-less iPad models, you’ll see the screen flash white, hear the camera shutter sound, and notice a temporary thumbnail of your screenshot appear in the lower-left corner of your screen.
How to take a screenshot on an iPad with a swipe gesture
In iPadOS, Apple has implemented the ability to use your finger or Apple Pencil to take a screenshot, including turning full web pages into PDFs that you can immediately edit with Instant Markup tools.
First, you’ll need to make sure the feature is turned on. Here’s how to do that.
- Open Settings.
- Tap on General.
- Tap on Gestures.
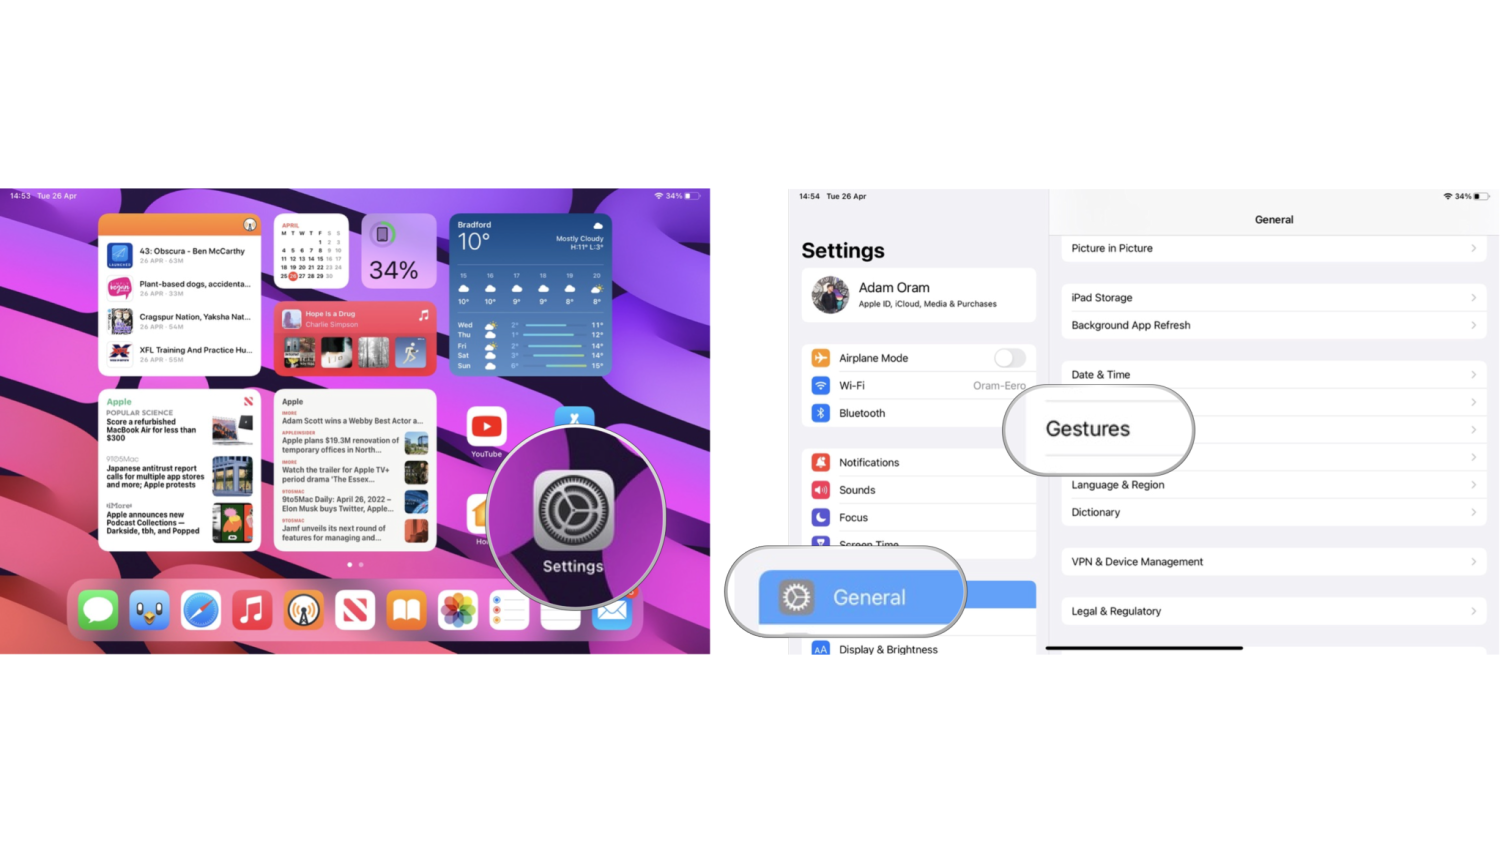
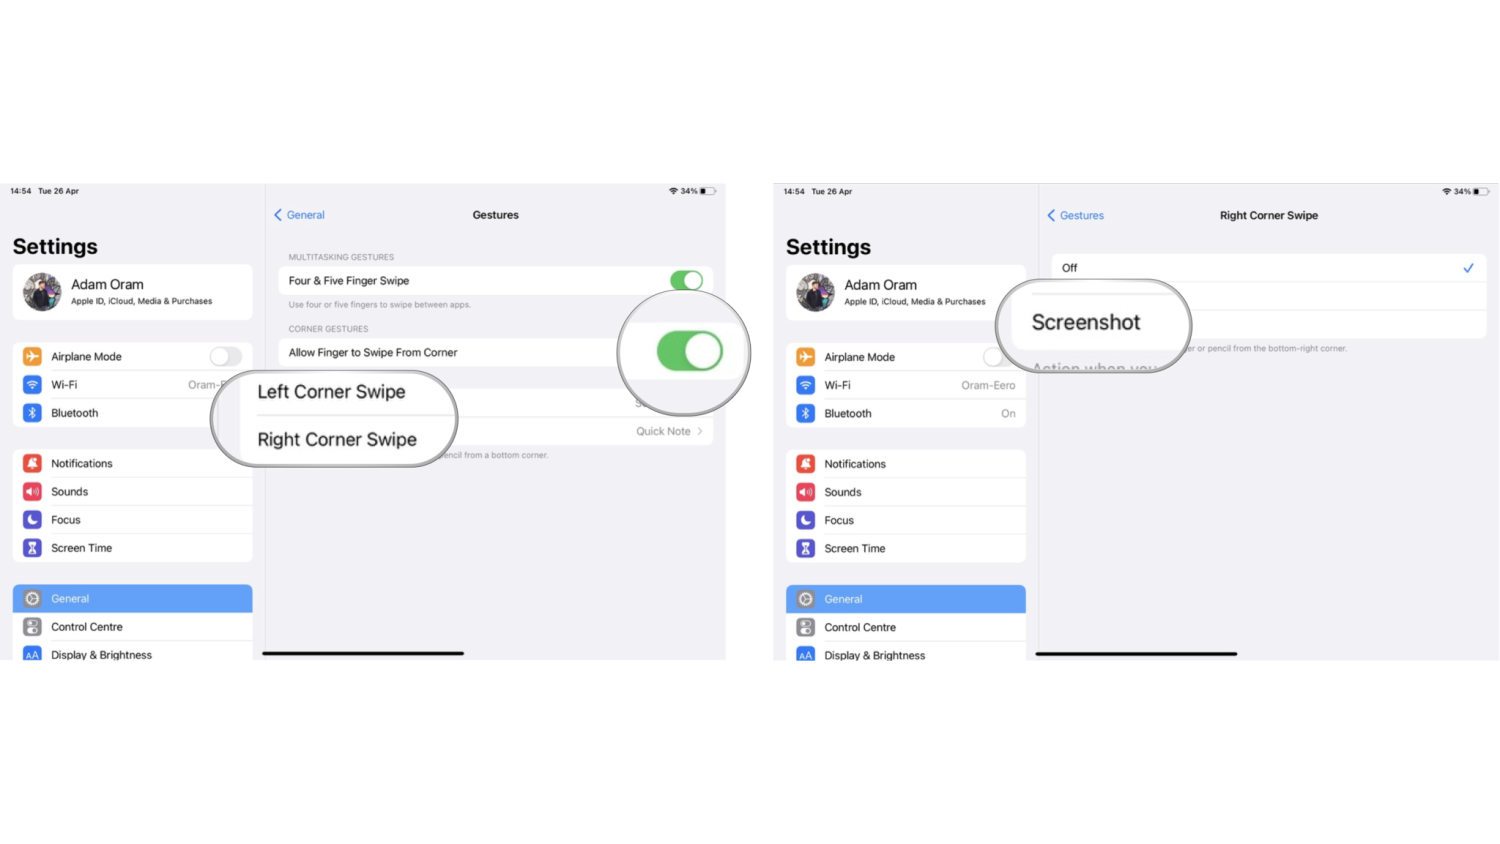
- Turn on Allow Finger to Swipe From Corner if you wish to use your finger in addition to or instead of an Apple Pencil.
- Tap on Left Corner Swipe or Right Corner Swipe.
- Ensure Screenshot is selected for at least one of the corners.
Now you have this swipe-to-screenshot gesture set up, you can go ahead and use it. Here’s how.
- On the screen you want to capture, place your finger or Apple Pencil in the bottom-left or bottom-right corner of the screen
- Drag the corner of the screen toward the center and let go.
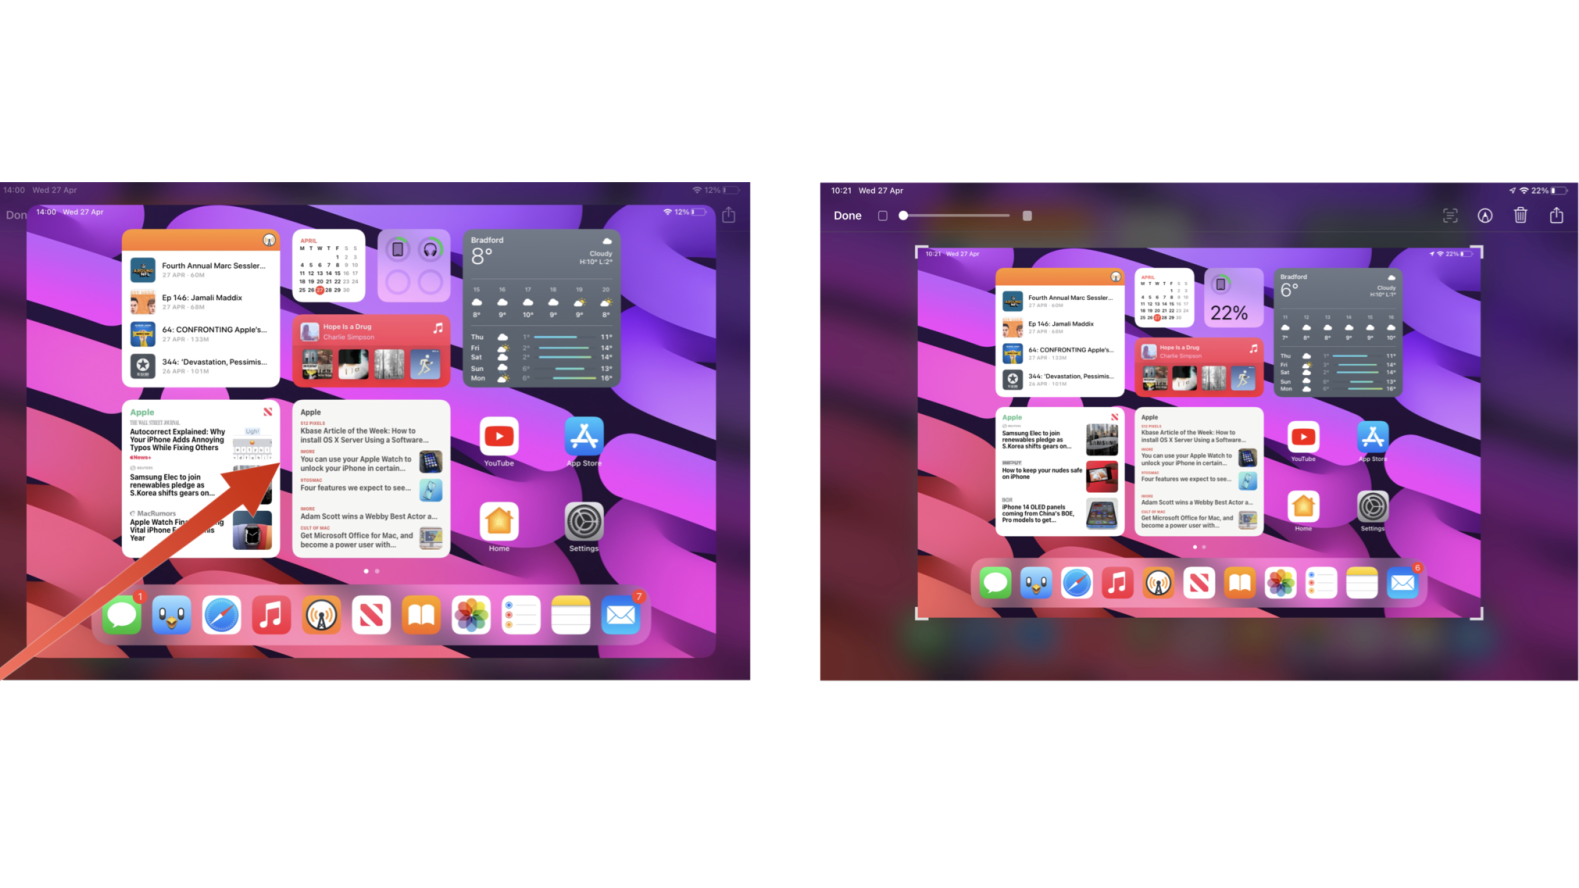
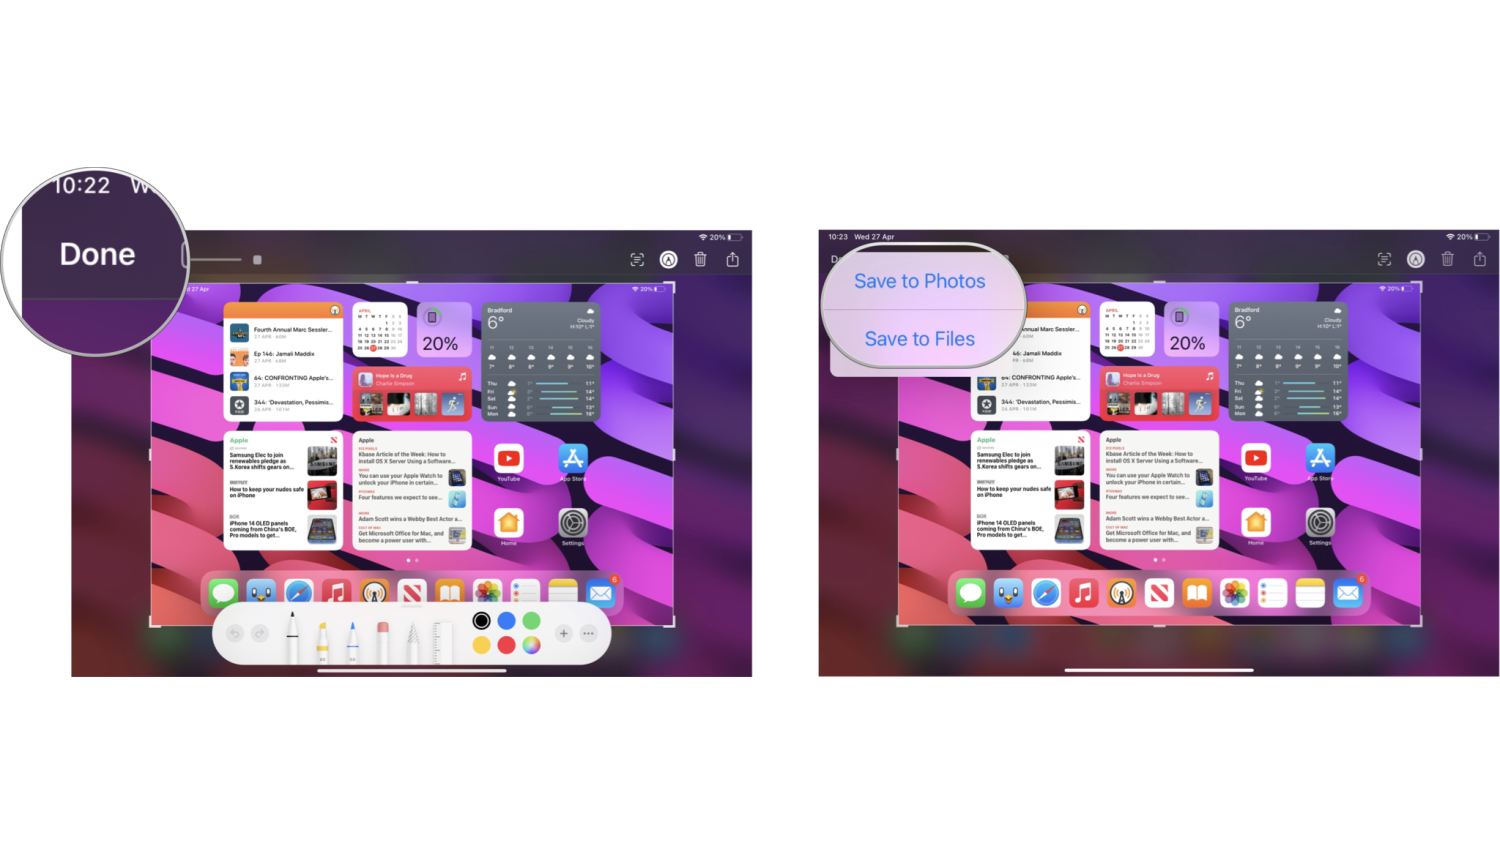
- Complete any edits or markups you wish to make.
- Tap Done.
- Tap Save to Photos or Save to Files depending on where you want to save the screenshot.
How to find your screenshots on your iPad or iPad Pro
You can view your screenshots at any time in the Photos app and even edit, annotate, and share them from there.
- Launch the Photos app from your Home screen.
- Tap on Albums.
- Tap on Screenshots.
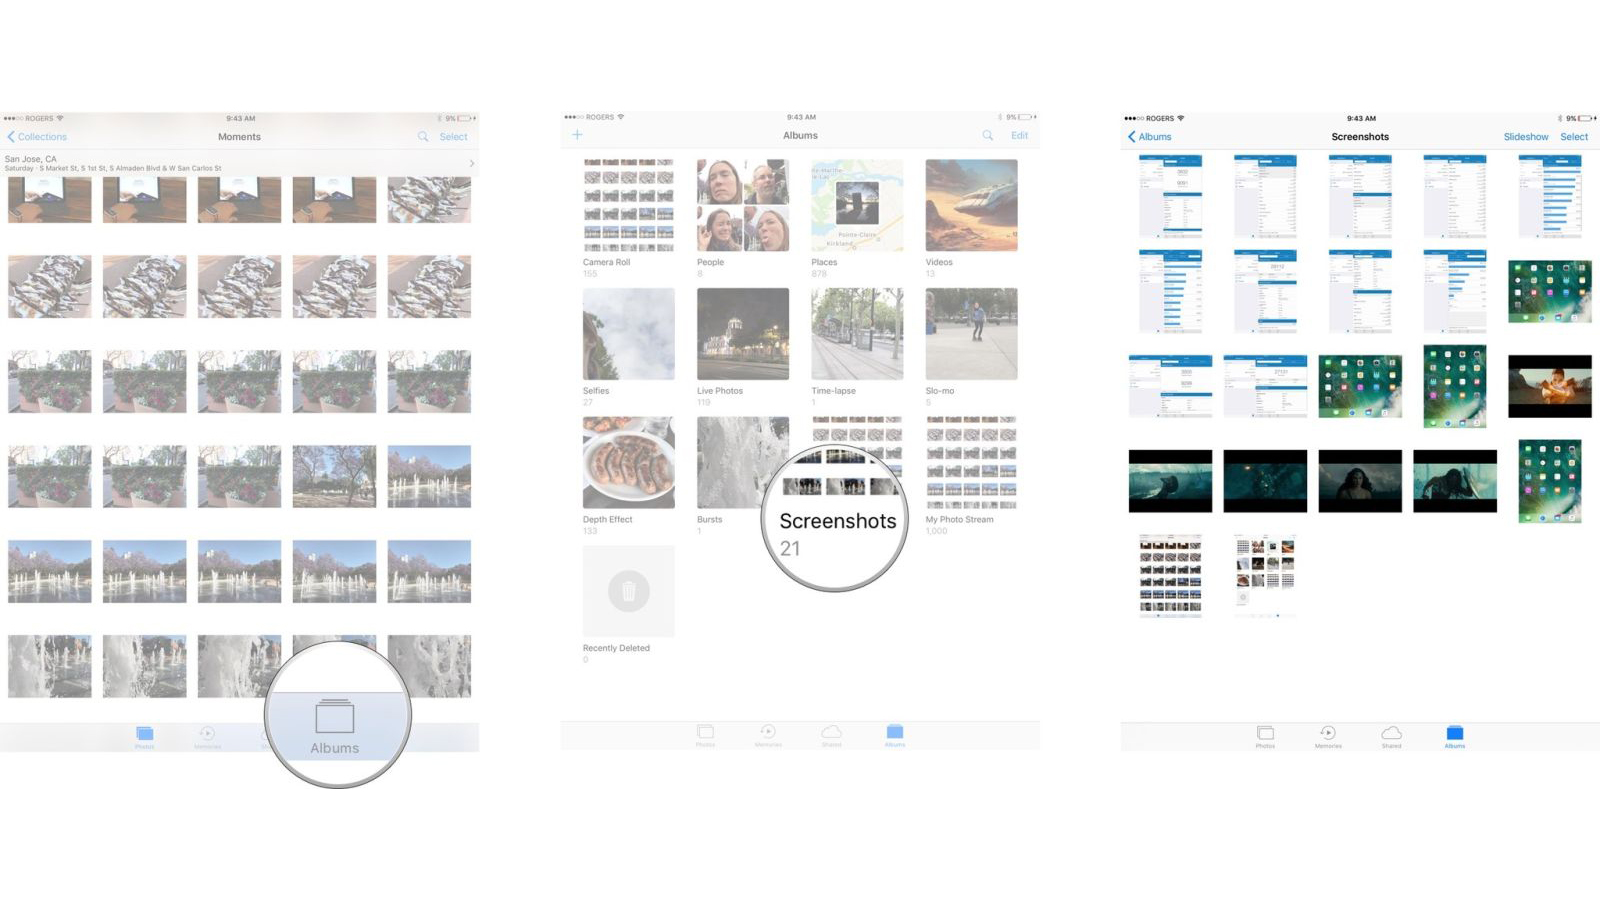
You can also find your screenshots in the main Photos and Camera albums but you’ll have to scroll through everything else as well.
Snap and share
Screenshots are a great tool for sharing info, capturing something for later reference, or marking up content on-screen. It’s also one of the best iPad features for getting technical support as you can provide a visual to whoever is helping you out. No matter what you need to screenshot, you now know how to do it.
Updated April 2022: Updated for the 2022 iPad lineup.
