eSIM is now a staple of any iPhone purchase, giving you one less moving part to worry about since the feature was launched alongside the iPhone 11. Thanks to eSIMs, you can add up to eight at once to your device and also use two active phone numbers at once.
For anyone using their iPhone for business and pleasure, eSIM is a no brainer as it significantly streamlines the experience of switching between SIMs all with a tap of a button.
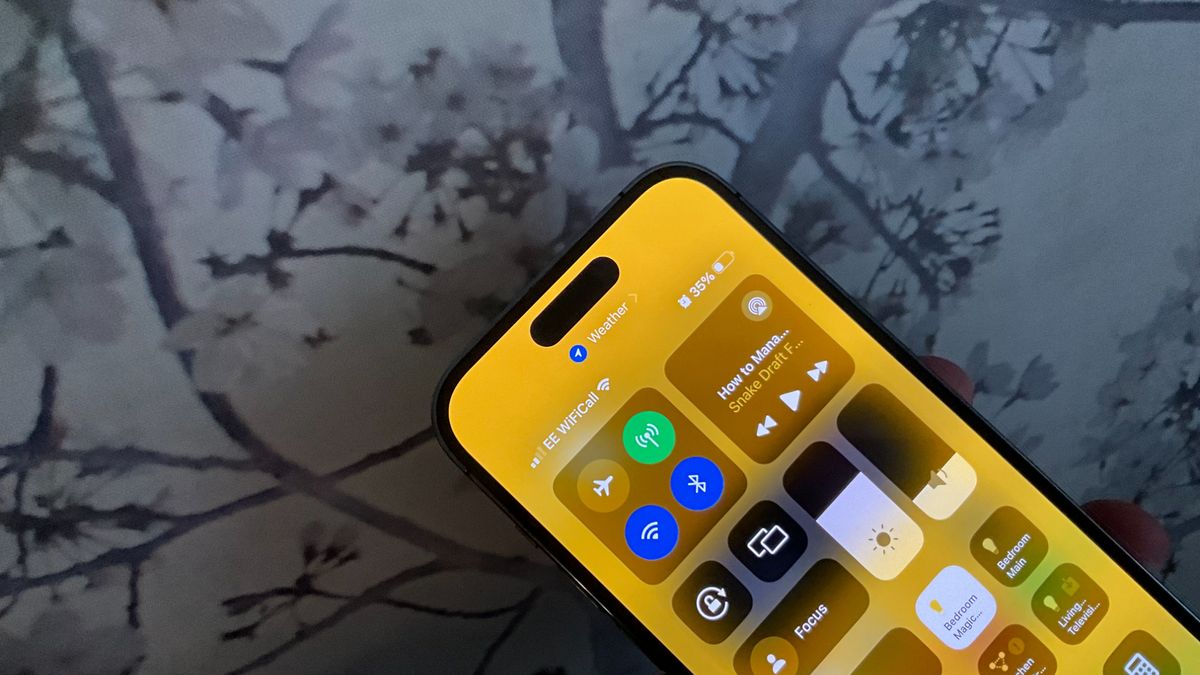
With Focus modes on iOS 17 you can easily keep your work and personal life separate as well as automatically switch between phone numbers after your final work call of the day. This guide shows you how to use an eSIM on iPhone and how to transfer a physical SIM to an eSIM.
Why should you use eSIM on iPhone?

If you’re in the United States and own an iPhone 14 then you’re already on board with the eSIM train. For everyone else, there are major benefits to using eSIM and equally some negatives that can cause issues in certain situations.
By opting to use eSIM, your device has one less physical part and the days of requiring a new SIM card because your old one just decided to stop working are behind you. By removing the SIM tray, Apple has also removed another potential entry point for liquid on your iPhone meaning that your device is less susceptible to water damage.
I have been a proponent of eSIM for years now but have recently returned to using a physical SIM after my eSIM quick transfer failed when buying one of the best iPhones on the market, the iPhone 14 Pro. I had to go into my carrier’s retail store to get a new physical SIM as I was no longer able to activate an eSIM without any functioning cellular line on my old or new device. It seems, however, that eSIMs are much easier to use in the United States compared to the United Kingdom, where I live and I don’t expect you to have Similar issues.

“Using an eSIM has made my life so much easier. I absolutely love not needing to worry about my SIM card anymore, and the setup process when changing iPhone is almost magical. For anyone buying an iPhone 15 in September, I highly recommend going down the eSim route.”
What carriers support eSIM on iPhone?
When eSIM was first introduced, a handful of carriers gave users the option. Nowadays, the majority of carriers in the United States support eSIM functionality. eSIM is available to customers of the following carriers:
AT&T, Boost Mobile, Carolina West Wireless, Cellcom, Credo Mobile, C Spire, FirstNet, H2O Wireless, Nex-Tech Wireless, PureTalk, Red Pocket, Spectrum Mobile, Straight Talk, Strata Networks, T-Mobile USA, Tracfone, UScellular, Verizon Wireless, Xfinity Mobile
If you’re not in the United States, all carrier information can be found on Apple’s eSIM carrier list.
How to set up an eSIM on iPhone

Since the launch of the iPhone 14, all U.S. iPhones have been eSIM only. This means that your eSIM should already be activated, and the device should work straight out of the box – it’s magic. For owners of older iPhones and iPhone owners outside of the United States, there are other ways of setting up an eSIM on an iPhone.
How to set up your eSIM line with a QR code
Some carriers will provide you with a QR code that you can scan in order to set up your line.
- Open Settings
- Tap Cellular
- Tap Add Cellular Plan
- Scan the QR code that your carrier provided using your iPhone’s camera
- Enter the confirmation code your carrier provided if you’re asked to do so
How to set up your eSIM line with your carrier’s app
- Download your carrier’s app from the App Store
- Follow the steps to purchase a new cellular plan
- Open Settings on your iPhone if you need to enter your plan details manually
- Tap Cellular
- Tap Add Cellular Plan
- Tap Enter Details Manually at the bottom of the screen
- Follow the instructions to enter all of the necessary details of your new cellular plan
How to use eSIM Carrier Activation on iPhone
If you contact your carrier to request an eSIM, they are likely to use the carrier activation method to help you get started with eSIM.
- A notification will appear that says, “Provider Mobile Data Plan Ready to Be Installed”, tap it
- Open Settings and tap “Provider Mobile Data Plan Ready to Be Installed”
- Tap Continue
- Make a call on your iPhone to check if the activation process is complete
- If the eSIM plan replaces the physical SIM on your device, remove your physical SIM and restart your iPhone
How to use eSIM Quick Transfer
When setting up your new iPhone, you have the option to quickly transfer your eSim from a previous device running iOS 16 to your new one. It works as seamlessly as transferring data from iPhone to iPhone and can be done by following the steps below:
How to use eSIM Quick Transfer on iPhone

- Open Settings
- Tap Mobile Data and select Add Data Plan
- Select the mobile data plan you want to transfer
- Wait for the cellular network to activate and make a call to test if the eSim transfer worked correctly
How to convert a physical SIM to eSIM on iPhone
If you have a physical SIM and want to start using eSIM, you can easily convert directly from your iPhone. This process works on eligible carriers.
How to convert a physical SIM to eSIM on iPhone

- Open Settings
- Tap Mobile Data and then Convert to eSIM (if this option is not available then your carrier does not support eSim conversion)
- Tap Convert Mobile Data Plan
- Tap Convert to eSIM
- Wait for the eSim to activate then remove your physical SIM and restart your iPhone
How to set up your cellular plans to work together

When you set up a second line, you’ll need to choose which line will be your default one. You’ll also be able to choose how each line will be used. The default number you choose will be the one that iMessage and FaceTime use automatically. Here’s how your options break down (this assumes you chose Primary for your first line label and Secondary for your second line label):
- Use Primary as your default line: Your Primary line will be the default for voice, SMS, iMessage, FaceTime, and data. Your Secondary line will only be available for voice and SMS.
- Use Secondary as your default line: Your Secondary line will be the default for voice, SMS, iMessage, FaceTime, and data. Your Primary line will only be available for voice and SMS.
- Use Secondary for cellular data only: Your Primary line will be used for voice, SMS, iMessage, and FaceTime, while your Secondary line will be used only for non-iMessage and non-FaceTime data.
How to change your cellular data number
Only one of your numbers at a time can use cellular data. You can change which of your numbers that is in Settings.
- Open Settings on your iPhone
- Tap Cellular
- Tap Cellular Data
- Tap the number that you want to use cellular data
- Tap the switch next to Cellular Data Switching to the green “on” position if you want to switch to using cellular data on your voice/SMS line while you’re on a call
If you don’t have cellular data switching turned on, you won’t be able to use data while on a voice call if you have a separate line handling cellular data.
How to set a cellular line to use for a specific contact
With two lines set up, you can choose which number your iPhone uses to call one of your contacts.
- Open Contacts
- Tap on the Contact for which you’d like to choose a number
- Tap Preferred Cellular Plan
- Tap the number you want to use by default to call this contact
How to switch phone numbers when using the phone keypad
- Open the Phone app on your iPhone
- Enter the phone number
- Tap on the phone number near the top of the screen
- Tap the number you want to use for the call
How to switch messaging numbers in the Messages app
- Open Messages on your iPhone.
- Tap the New Message button in the upper-right corner.
- Enter your contact’s name or number.
- Tap the number you’re currently using to send messages.
- Tap the number you want to use.
How to erase your eSIM
- Open Settings on your iPhone
- Tap Cellular
- Tap on the cellular plan you want to erase
- Tap Remove Cellular Plan
One more thing… eSIMs are the present and the future
Congratulations, if you’ve read this whole eSIM guide, you are now officially an eSIM master. With this new found knowledge, you should be able to use up to two eSIMs at the same time to get on top of your private and personal lives.
eSIMs have changed the game for smartphones, allowing smartphone manufacturers to improve dust and water resistance as well as facilitate more room in the chassis for other cool tech.
I’ve been using an eSIM for over three years now and few hiccups aside I haven’t missed a physical SIM once. eSIMs add to the magical setup of an iPhone by automatically getting you good to go during the initial setup process.
The iPhone 15 will continue on the trend from the iPhone 14 with no physical sim tray slot, and that’s a very good thing for those of us hoping for better longevity from our devices.
