There’s something so exciting about peeling away the seal on a brand-new iPhone and letting the anticipation build as it slides out of the box. It’s a feeling that never gets old, especially if you’ve had multiple iPhones over the years.
Once you finally have your new iPhone in your hands, it’s hard not to rush ahead and get right to using your favorite apps. In doing so, you might fly past some important setup steps that can make your overall experience better. We’ve rounded up seven of the most important things to do with your new iPhone that will address key features and ensure you have a seamless iOS experience.
Transfer your data

The way you set up your iPhone will depend on whether you’ve owned one before. If it’s your first foray into Apple’s ecosystem, use our guide to setting up your new iPhone. Here, you’ll learn all the basics, like creating an Apple ID and setting up Siri.
If you’re an old hand at the iPhone, our guide on how to transfer data between Apple devices will guide you through the process of moving everything from your old phone to your new one.
Lastly, if you’re working with an Android phone like a Google Pixel or Samsung Galaxy, our guide on how to transfer from Android to iPhone with Move to iOS will walk you through your first steps into the world of iOS 17.
Sort your security
As you run through the setup, you’ll find an option prompting you to set up Face ID or Touch ID, depending on the model of iPhone you’re using. This security feature lets you unlock the device with your face or finger, setting a four or six-digit code as a backup.
If you accidentally sped through this portion of the setup and want to start the process after the fact, you can use our how to Set up Face ID guide to fortify your data.
Authenticators are another security element you’ll need to set up on your new phone, though this will depend on whether you’ve used authenticators in the past, and which services you are a part of. Each individual brand will have its own unique system, so it’s best to go straight to the source and follow their instructions to avoid any unwanted frustration.
Organize your wallet
Now you’re up and running with security, it’s worth adding some cards to your wallet so you can use your iPhone as a contactless payment method. For bank cards, our how-to set-up Apple Pay on iPhone and iPad will guide you through the process.
Your Apple Wallet isn’t just a home for payment cards, though, and can house anything from supermarket loyalty cards to your flight boarding passes and concert tickets. Once you’ve set up any and all payment cards you’d like to use, check out our guide on how to use rewards cards with Apple Wallet to find out how you can add additional non-payment systems right in your Apple Wallet.
Set up your home screen

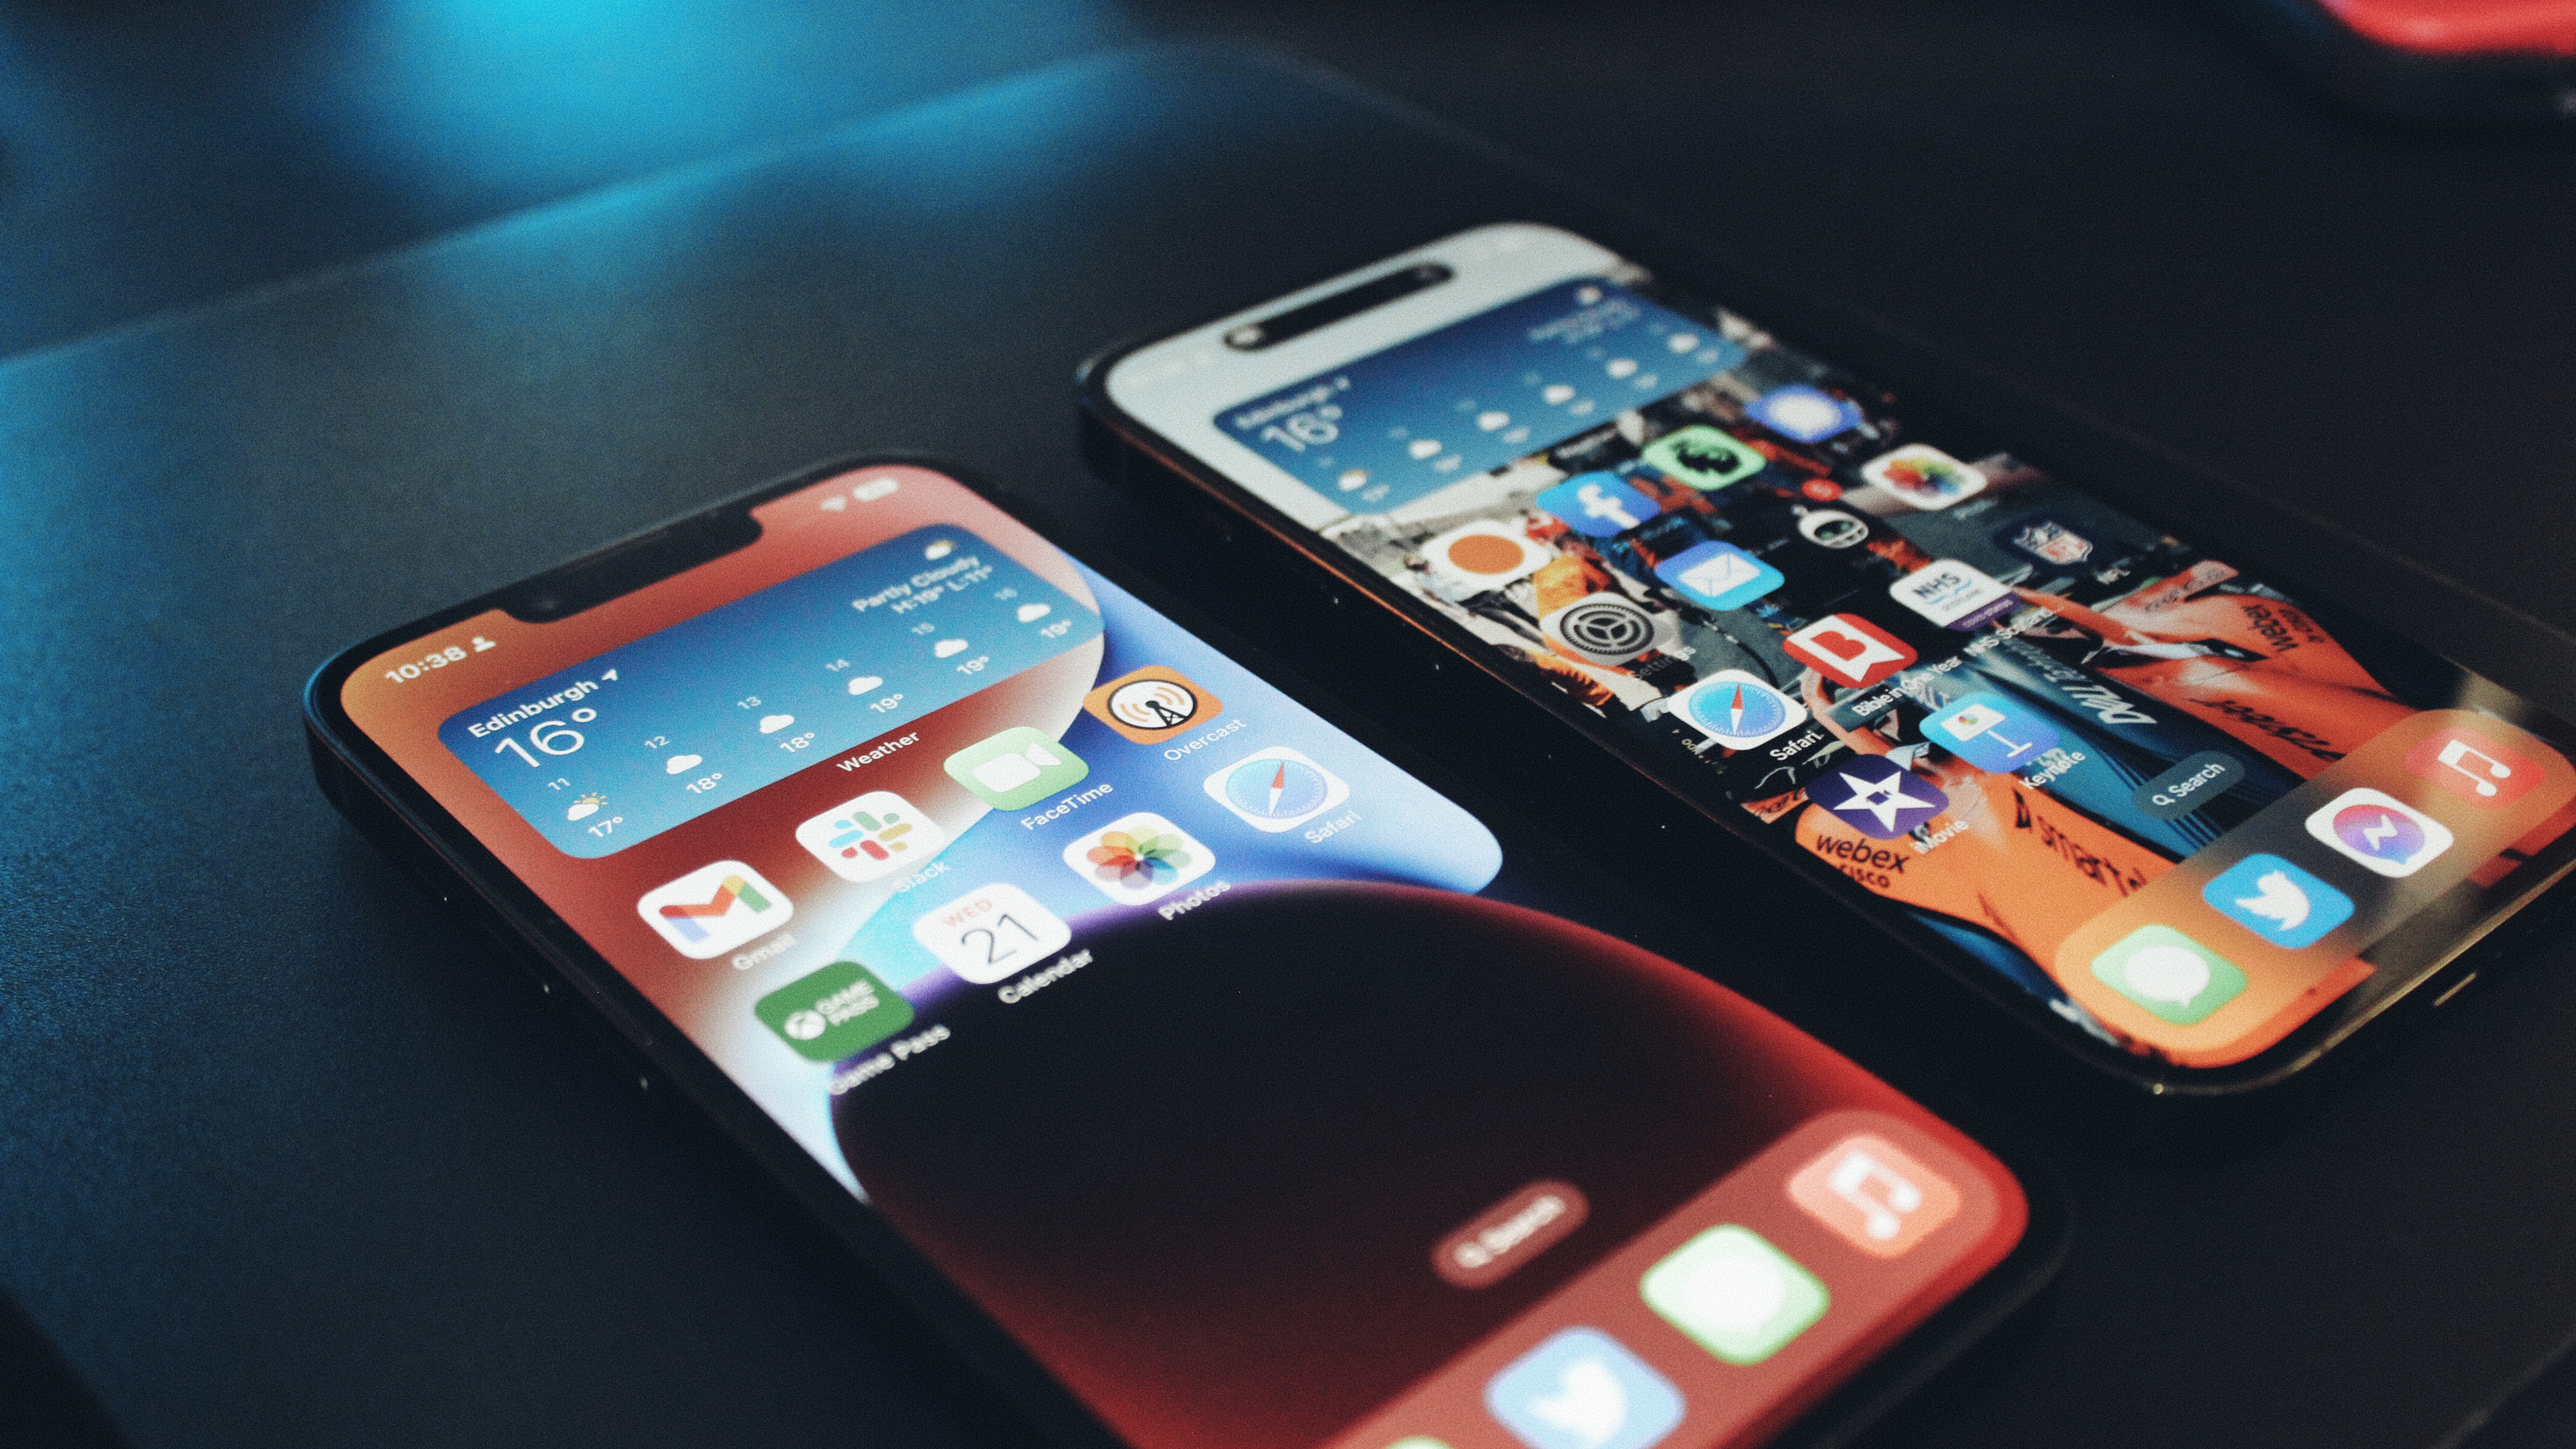
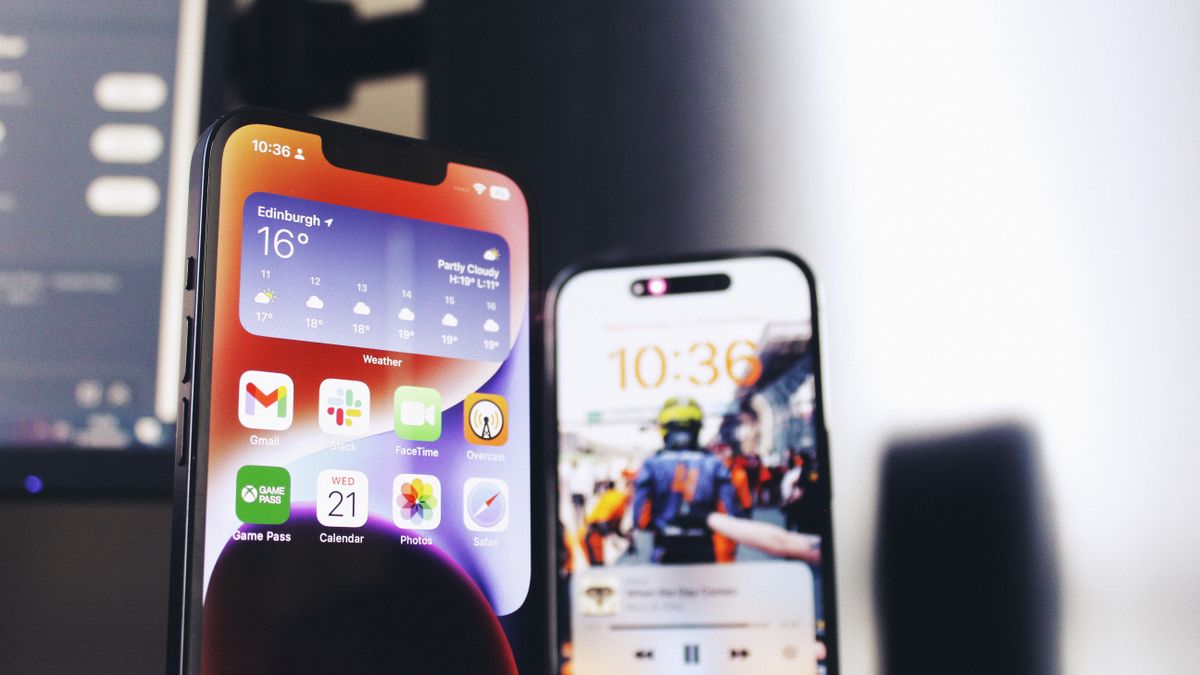
You’ll be staring at your home screen every day, so it’s always good to start things off with some organization. If you haven’t chosen to have your home screen follow you from an older iPhone via the data transfer, setting things up appropriately can save you a lot of pain down the line. If you aren’t sure how to get things organized in the right place, our guide to rearranging your apps will show you the ropes.
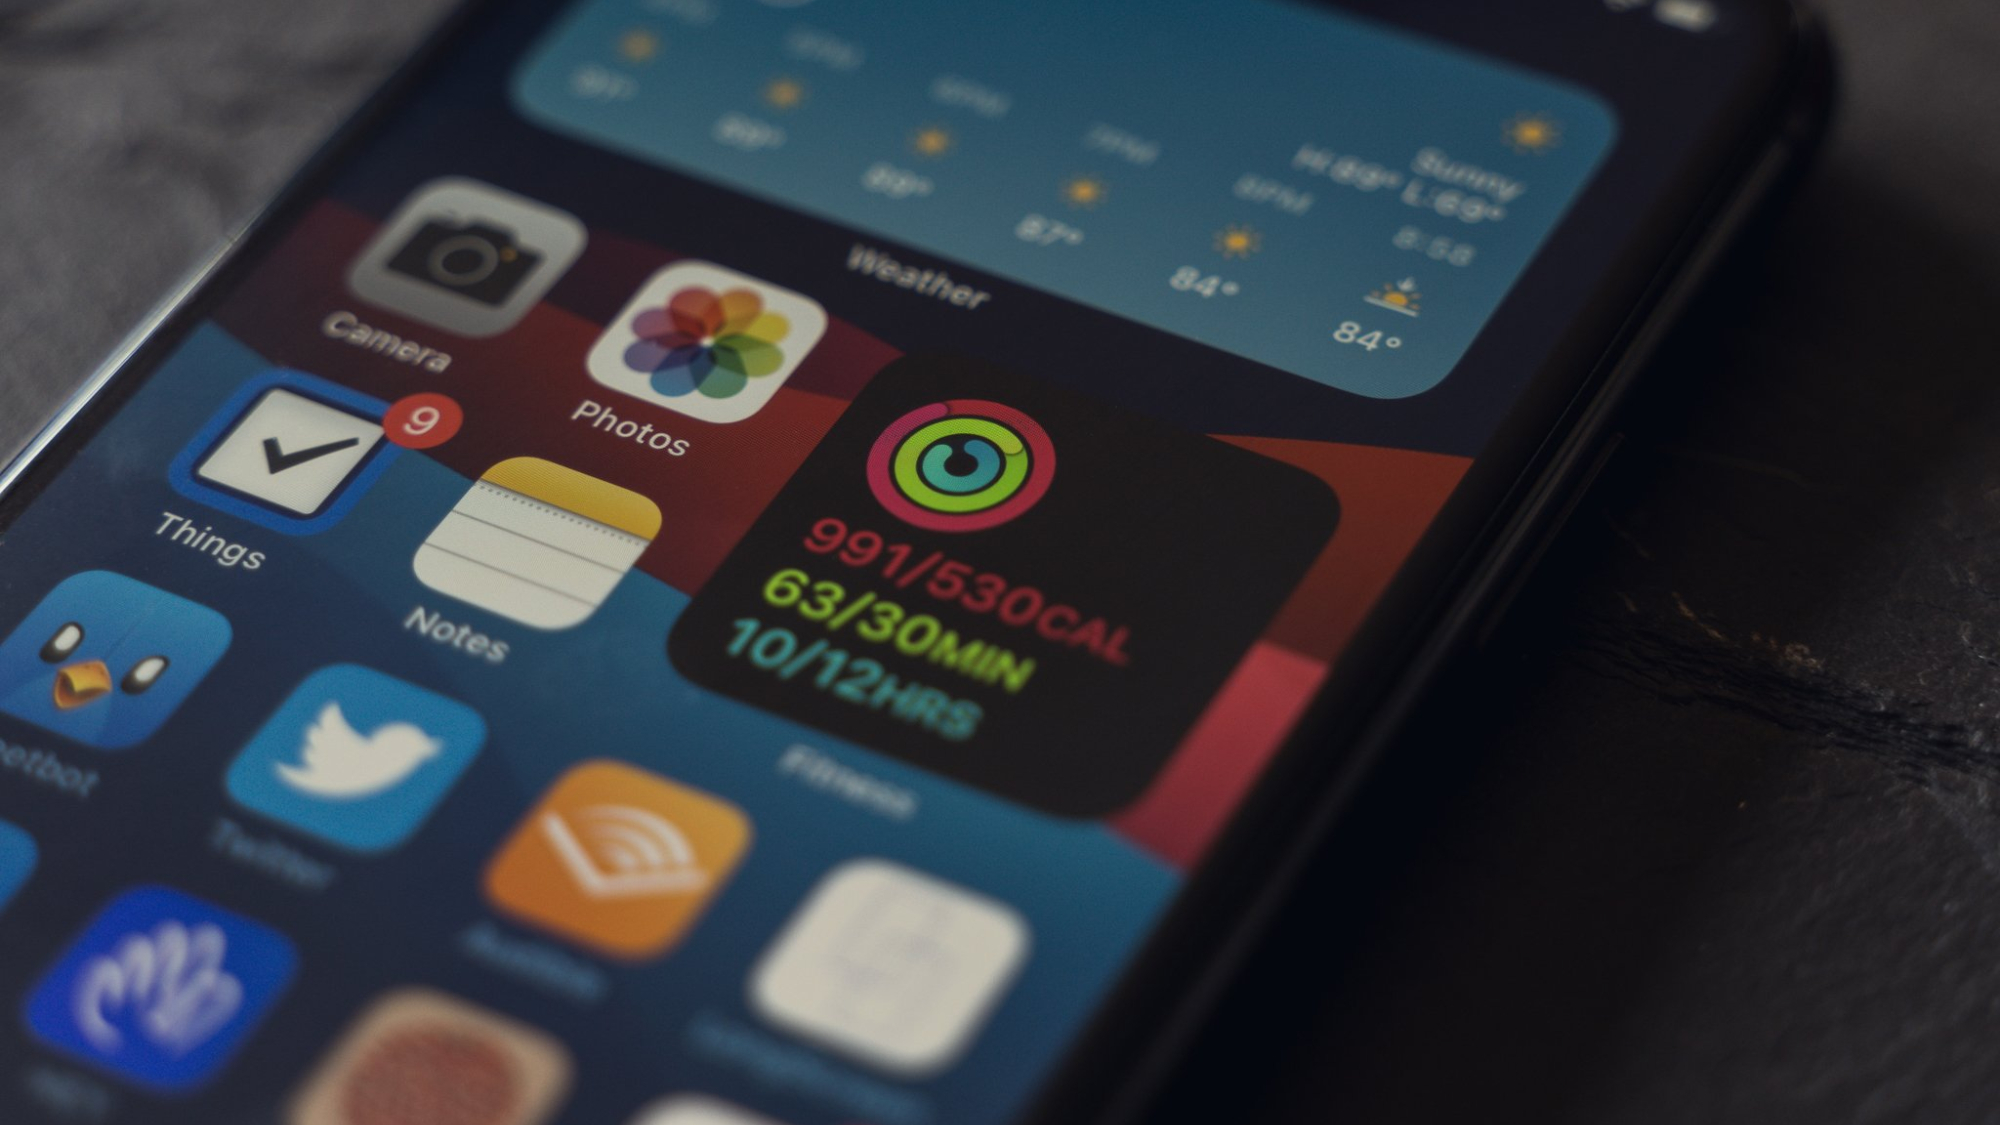
There have also been some aesthetic changes over the past few years of iOS, with the addition of widgets and dynamic lock screens, which help you create more of a bespoke display.
Our guide to customizing your Lock Screen will assist you in creating the perfect masterpiece for your day-to-day viewing pleasure, and our guide to setting up and using widgets will help you make the most of your home screen.
iPhone Health and Safety
Health and safety have been on Apple’s radar for years, with improvements coming to every new OS. While there’s plenty to unpack if you choose to add sleep schedules and workouts to the mix, there are two features, in particular, worth setting up from the jump.
Your Emergency Contact and your Medical ID are features that may not seem essential at first, but in the case of an accident or emergency, they are important to have on your device right away.
For everything Apple health and safety, use our guide to managing your Medical ID. This information can also be extremely important when helping others, as you’ll be able to quickly find medical information like allergies and blood type with the press of a button.
Customize your Control Center

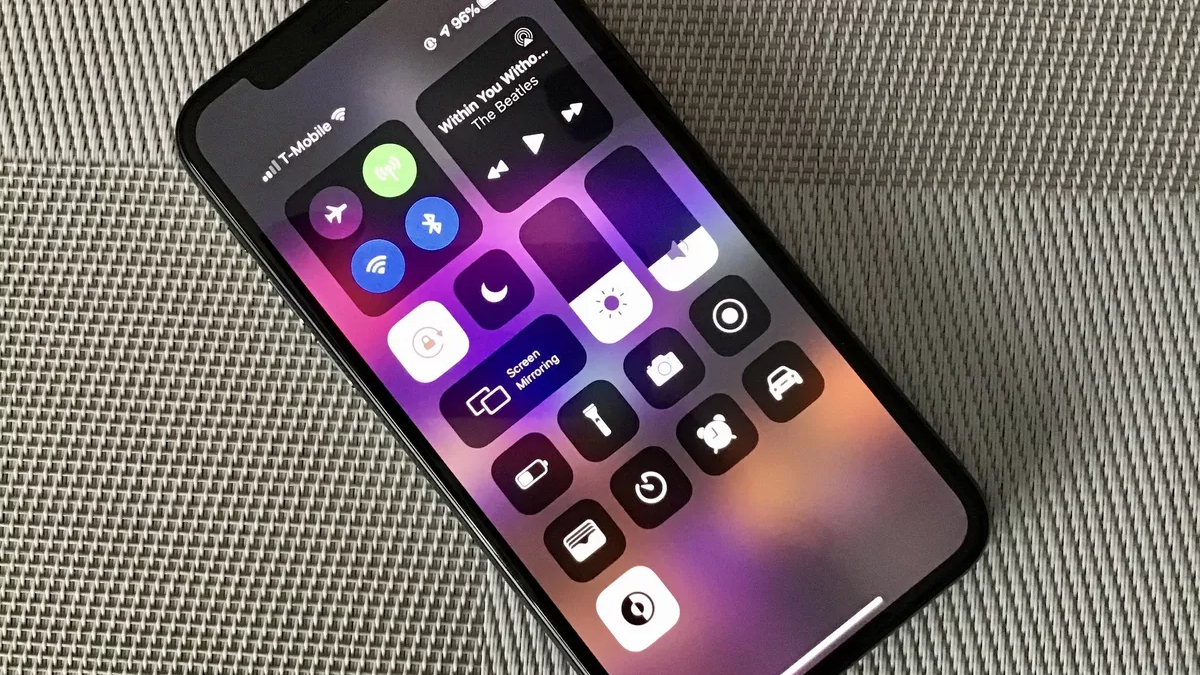
An underrated feature we recommend you take some time to tweak is the Control Centre, which serves as a pull-down menu full of quick-access applications like the Flashlight, Bluetooth and more.
If there’s one thing we at iMore love, it’s an Ultimate Guide. This admission does mean we have an ultimate guide for the Control Centre that can show you how to configure the CC so that your favorite apps are accessible in the menu.
For example, if you find yourself losing your Apple TV remote and can’t be bothered looking, you can add a controller to your Control Centre so you can stream away and leave the remote hide and seek for another day.
Download the Apple Support App
Inevitably, you may run into a few technical problems over the life of your new device. so it’s a great idea to get ahead of them and download the Apple Support app.
Once set up, you’ll be able to choose the device causing you problems and follow a series of questions to find a solution. This may take shape as a guided walkthrough, live chat support, or an appointment in-store.
The Apple Support App is especially useful if you have more than one Apple device, as it’ll track everything linked to your Apple ID. For more on Apple Support, check out our guide to this extremely useful app!
Conclusion – Sink time into new features
If you’re investing in a new iPhone, you’ll find a veritable Pandora’s box of new features to play with to customize your new device. Consider taking some time to get into the weeds of your app settings, as you may well uncover new ways to use your iPhone for the better.
If you live in a city with an Apple store, you’ll also have access to a whole host of free lessons, such as creativity sessions and artist pop-ups that can teach you how to make the most of your new device.
